I previously talked about planning your blog and getting it right first time but what was right at the start can change over time.
For instance, I used to have three blogs: one dedicated to Xena, one to science fiction and fantasy and one to my random thoughts. Eventually I merged the Xena and sci-fi blogs together at allgeekthings.co.uk. When I stopped having enough random thoughts to warrant a separate blog, I merged that too.
As I started my journey into reviving my blog, I started writing more about blogging, SEO and social media stuff and 45 posts later, I decided these posts needed their own space. So I started this website. But how did I do it?
There are a couple of ways you can move your content from one domain to another. If you were moving the whole blog to a new domain you can back up your complete site and just upload it via ftp to your new server. It’s quite straightforward but that’s a different post.
WordPress comes with an import/export tool that is meant to make your life easier and when it works, it’s great. In my case for some unknown reason, it didn’t work but let’s pretend for a minute that it did because it has in the past.
Exporting your WordPress posts
- Log in to the blog that you want to take content from.
- To access the WordPress exporter from your dashboard go to Tools > Export. You will be given an option of what to export i.e. all content, posts, pages or comments.
- Choose > Posts and you will see a drop menu where you can select the category you wish to export.
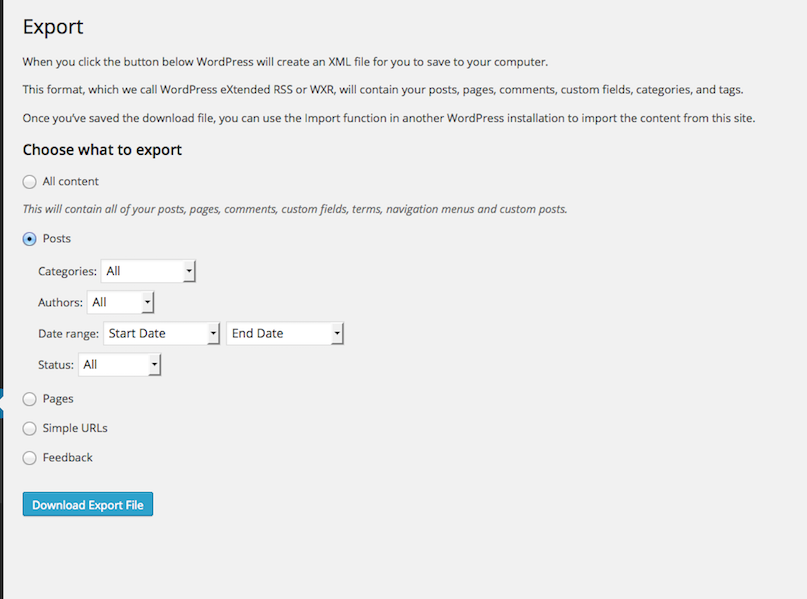
- Once you have made your choice click on the ‘Download Export File’ button.
- WordPress will prepare an XML file of your chosen content.
If you have several categories that you want to export repeat the process but be aware that each file will be given the same name with a number appended to it i.e. myblogposts.xml(2).
Importing content to a WordPress blog
- On your new domain install a fresh copy of WordPress and delete the existing post, page and comment.
- From your dashboard go to Tools > Import.
- You will be presented with a screen that asks which platform you wish to import from. When you choose WordPress you will get a popup asking you to install the WordPress Importer plugin.
- Click to install the plugin and activate it. Once activated you will be taken to the import screen. From here browse your computer for the file that you exported from your old blog.
- Once uploaded you will come to a screen asking if you want to import the authors from the old blog or whether you want to assign the content to an existing user on the new blog. Make your choices.
- You will also see an option to ‘Download and import file attachments’. You can tick this but note that your images will not be pulled across. The WordPress importer only imports your files and images if you chose to export everything from your old blog. Don’t worry though, there’s a plugin that will help.
- Click to start the import and let WordPress do its thing. When done you can check your posts to make sure they have been moved over.
If you have other categories to import then go back to the import tool and upload your files one by one. If there were any comments added to the posts these will come over too.
Import your images
Okay. So your posts are there but no images. From the Plugins page search for and install the Media Tools plugin. Once installed activate the plugin and go to Tools > Media Tools.
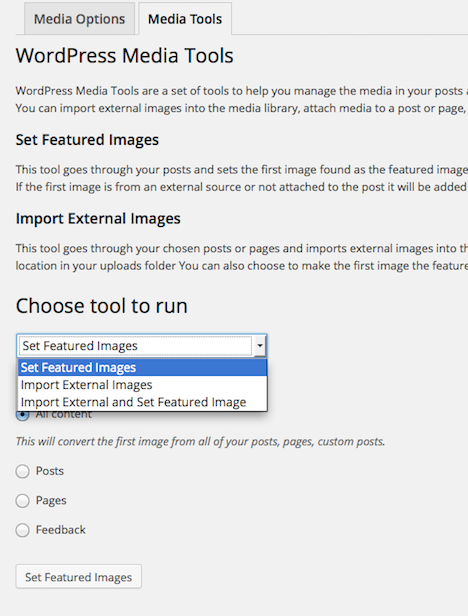
Media Tools gives you the option to:
- Set Featured Images
- Import External Images or
- Import External and Set Featured Images
Chose the last option and click to start importing.
I have to say this tool is a lifesaver and saves you the job of having to download images from your old blog, uploading them via FTP and using the Add from server plugin. Who has time for that, really? That being said, sometimes it might skip a few featured images and you will have to add these to the post yourself but still, it’s well worth using.
Update your links
Now you’ve imported your content and your images there’s just one more thing to do. All your internal links will still be pointing to your old blog. Now, if there are only a few, you could update them manually but if there are lots you can use the Database Search and Replace script.
Before you do this consider that some links might be pointing to posts that will remain on your old blog so either way, you will need to run a link checker to make sure there are no broken links.
Download and extract the search and replace script, then upload it to your server via FTP.
In your web browser, type yourdomain.com/searchreplacedb2.php (if you put it in a folder make sure you include the folder name).
Hit enter and you will be taken to a page like the one below. Click the submit button.
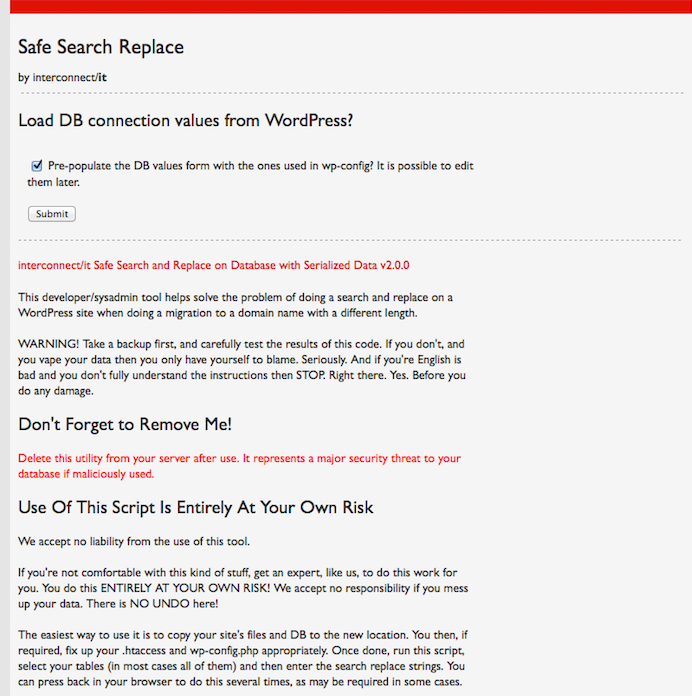
The next page will have your database name and password. Hit submit.
You’ll then be asked which tables you wish to scan. Hit continue and you will be told to make sure you’ve selected the correct tables.
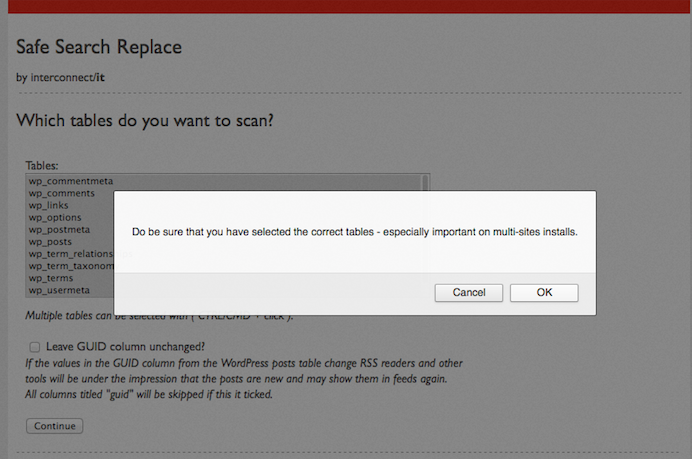
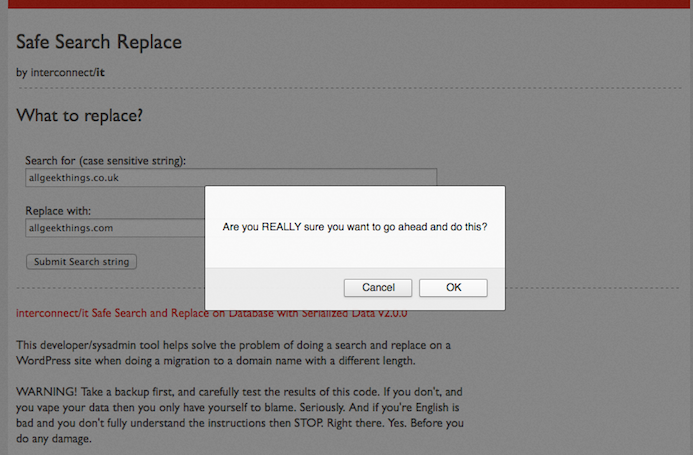
Next, you’ll be asked what you want to search and replace. In the top box put the address of your old domain. In the bottom box put the address of your new domain.
You’ll be asked if you REALY want to go ahead and do this. If you’re sure click, OK.
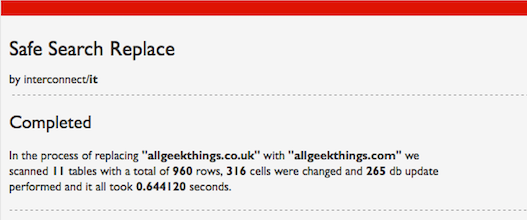
The script will run and you will finally be presented with a screen telling you how many cells were changed.
Close the tab, fire up your FTP client once more and delete the script.
Browse through a sample of posts to make sure all is okay and run a link checker to be sure.
And that is how you import posts to a new WordPress blog.
My export problem
I mentioned before that exporting my content using the importer tool didn’t work for me. Whether I attempted to export all content or a single post I got the following:
Forbidden
You don’t have permission to access /wp-admin/export.php on this server.
I spent a good long while Googling for a solution before giving up and using MySQL to export my content from one database and then import it to another. But that’s a post for another day.


Importar plugin was troubling me since 5 hrs.
thanks to this post my website is back up and running.
I’m really glad you found the post helpful. 🙂
Regarding your problem exporting content and facing the 403 permissions problem, the following trick worked for me :
1. I logged in to Webmin and renamed .htaccess to .htaccess.txt
2. I logged in WordPress, exported content as usual and saved it just fine.
3. I went back to Webmin, renamed .htaccess.txt back to .htaccess
Thanks Dimos. I wish I’d known this before. This is a much better solution than fiddling around with databases.